How to Export Parsed Invoices Straight Into QuickBooks Online
Upload an invoice, review the extracted data, export a QuickBooks Online-ready CSV, and bulk-import it. The exact column mapping, the real QBO import steps, and where to double-check before you trust it.
RevExOS
Q2C Consulting
Getting a stack of vendor invoices into QuickBooks Online usually means one of two bad options: type each one in by hand, or pay for an AP automation platform priced for a business ten times your size. There's a third path that most people don't know exists - extract the invoice data automatically, shape it into the CSV format QuickBooks Online already expects, and bulk-import it in one pass.
The Invoice Parser does exactly that. Upload a PDF or image of an invoice, GPT-4o vision extracts the header fields and line items, you review and fix anything before it goes anywhere, and then you export a QuickBooks Online-ready CSV built to match QBO's own bulk-import column headers. Here's the full walkthrough, plus the parts worth double-checking before you trust the output.
Step 1: Upload the Invoice
Go to /invoice-parser and drop in a PDF, PNG, JPEG, or WEBP file - up to 10MB, up to 5 pages. No signup, no account. The file is processed in memory during extraction and never written to disk or saved on the server; nothing about the invoice or its content is stored anywhere on RevExOS's side.
Extraction usually takes a few seconds. What comes back is a structured review screen, not a raw text dump.
Step 2: Review the Extracted Data
This step exists on purpose and you shouldn't skip it. The tool pulls out:
- Header fields: Invoice #, PO Number, Invoice Date, Due Date, Vendor Name, Customer Name, Vendor Address, Customer Address, Currency, Payment Terms, Subtotal, Tax, Total
- Line items: Description, Qty, Unit Price, Amount, SKU
Every field is editable inline before it goes into your export batch. Clean, typed invoices extract close to perfectly. Messier documents - handwritten notes, low-quality scans, unusual layouts - are where a quick manual check catches what the model missed. Fix anything wrong, then click Add to Export Batch. You can repeat this for multiple invoices before exporting all of them together.
Batch Before You Export
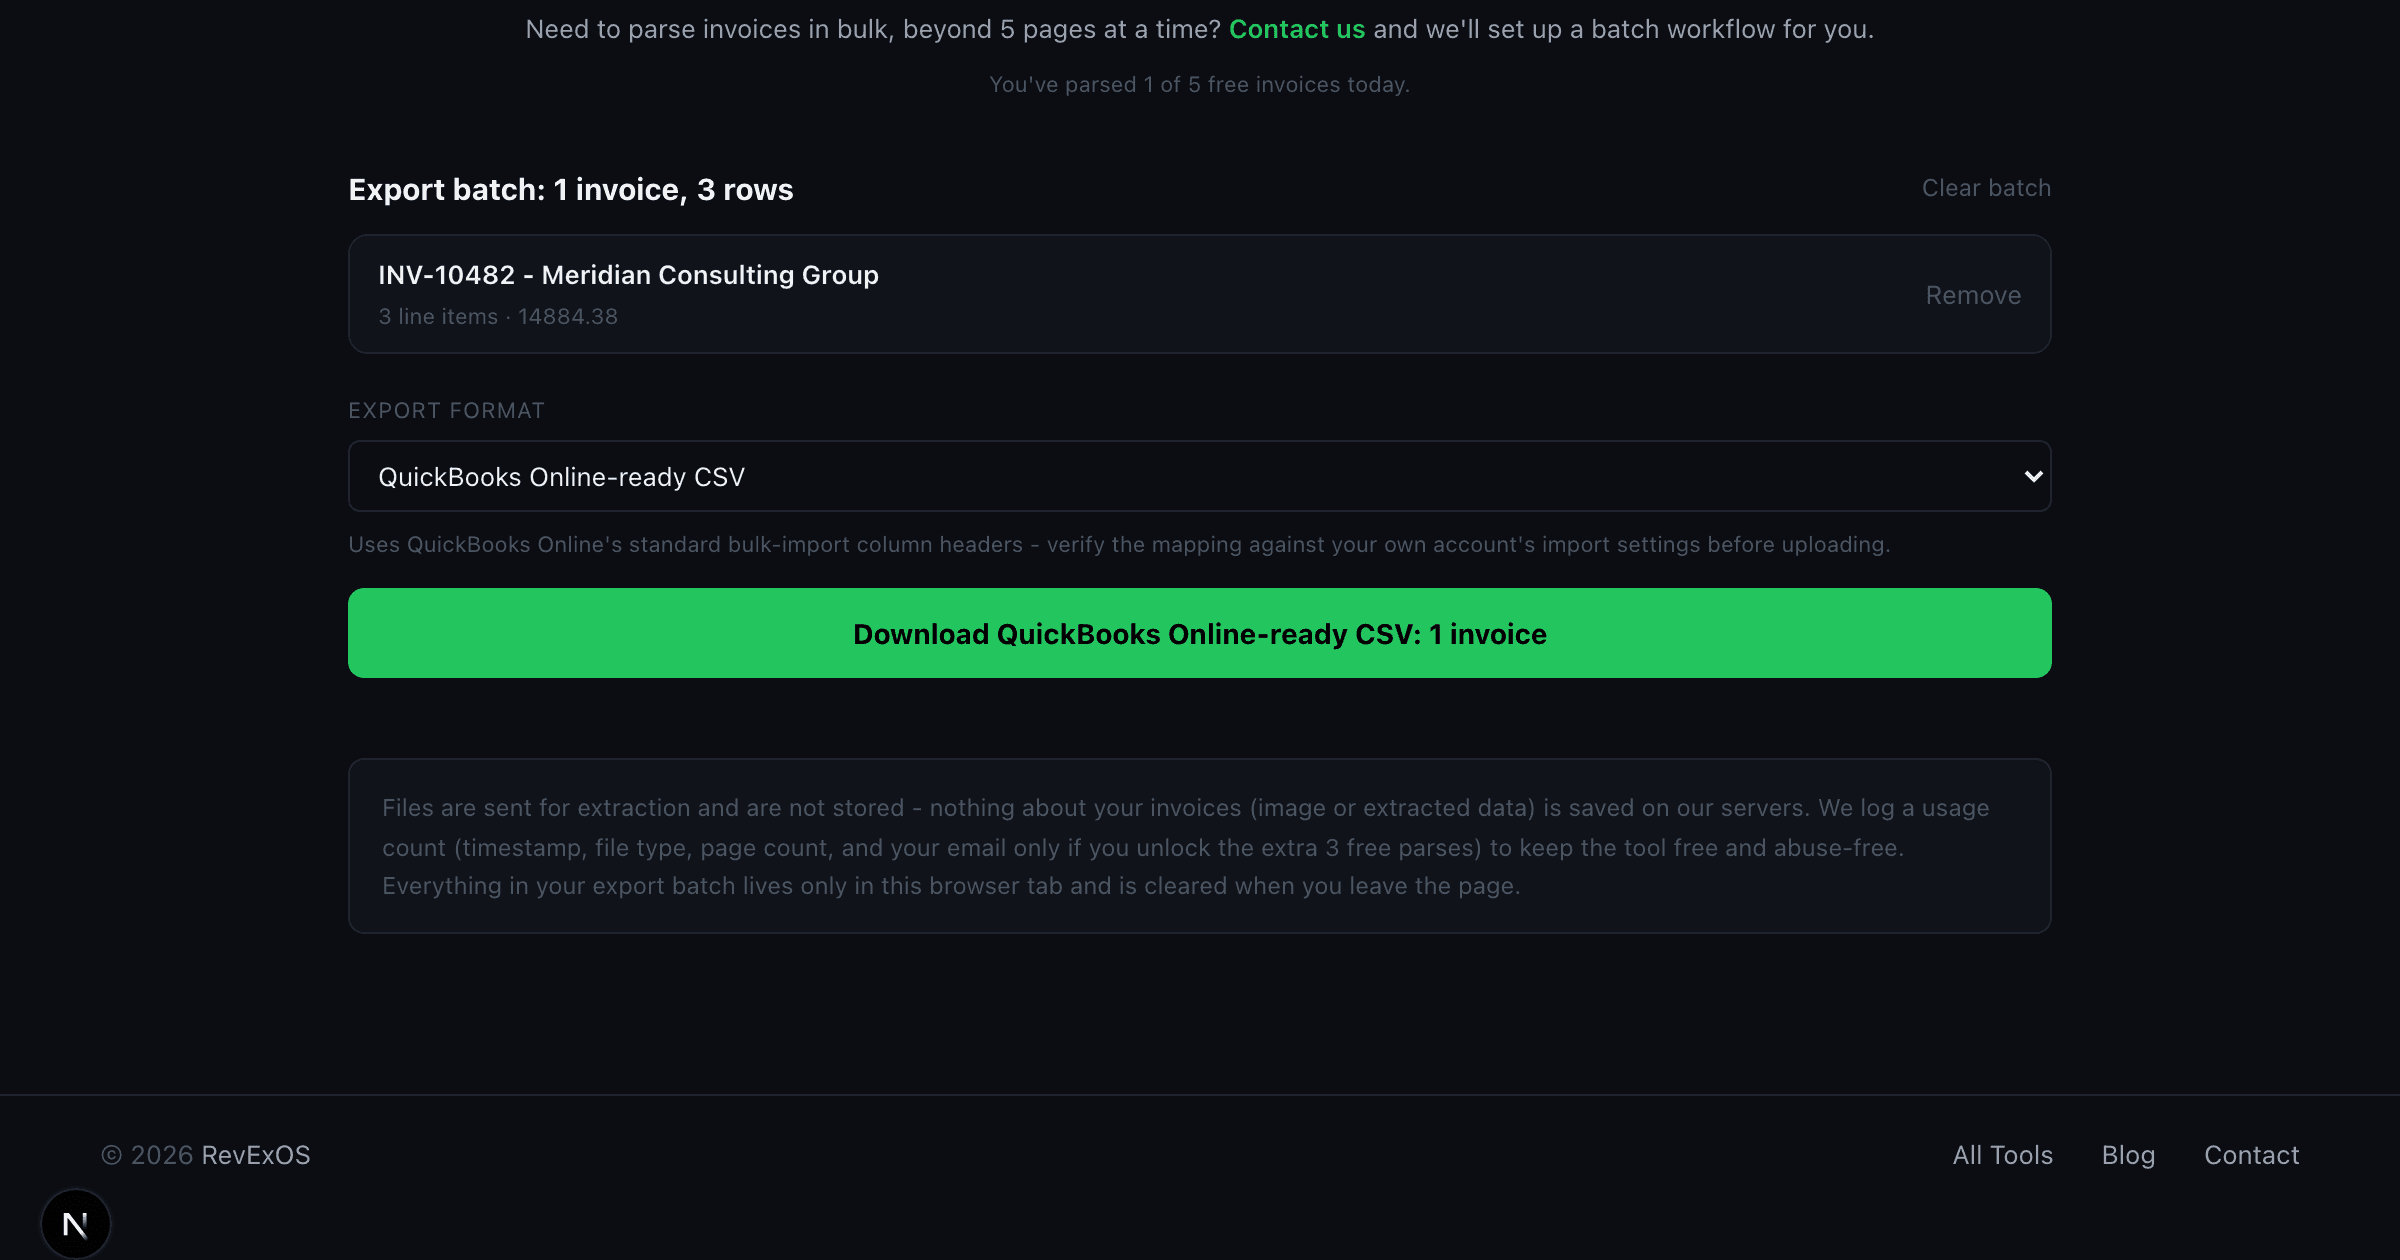
This is the part that actually saves time versus a one-off tool. Rather than uploading a single invoice and exporting a single CSV, you can repeat Steps 1 and 2 for every invoice you need to process - a week's worth of vendor bills, a stack you're catching up on, whatever you have on hand - and each one lands in a running export batch. The batch summary shows you how many invoices and how many line-item rows are queued up before you export anything.
Only when the whole batch looks right do you move to the export step below, at which point every invoice in the batch gets combined into a single QuickBooks Online-ready CSV. That's one upload into QBO instead of one per invoice, which is where the real time savings shows up if you're clearing a backlog rather than processing invoices one at a time as they arrive.
Step 3: Choose "QuickBooks Online-ready CSV"
In the export format dropdown, pick QuickBooks Online-ready CSV instead of the default plain CSV. This changes the output to match QBO's own expected column headers exactly, so the next step is a straight upload instead of a manual remapping exercise.
The exact columns the export produces:
| Column | Source |
| Invoice No | Invoice # |
| Customer | Customer Name |
| Invoice Date | Invoice Date |
| Due Date | Due Date |
| Terms | Payment Terms |
| Item(Product/Service) | Line item SKU |
| Item Description | Line item description |
| Item Quantity | Line item quantity |
| Item Rate | Line item unit price |
| Item Amount | Line item amount |
| Currency | Currency |
One row is generated per line item, with the invoice-level fields (invoice number, customer, dates, terms) repeated on every row for that invoice - that's the flat shape QBO's bulk importer expects, not a nested header-plus-detail structure.
Be honest with yourself about the caveat here: this is a best-effort match to QuickBooks Online's documented headers, not a guarantee that it lines up with your specific account's import settings. QBO occasionally adjusts its sample file format, and if your account has custom fields or a non-default chart of accounts setup, verify the column mapping against your own account before uploading a real batch.
Step 4: Import Into QuickBooks Online
With the CSV downloaded, the actual import happens inside QBO:
- Log into QuickBooks Online and open the Import center from the left navigation (or the gear icon, depending on your QBO layout).
- Select Invoices as the data type.
- Click Browse, upload the CSV you just exported, and click Next.
- On the mapping screen, match the CSV columns to QBO's fields. Because the export is already named to match QBO's own sample file, most fields should auto-map without extra work on your part.
- Review the summary: how many invoices will import, how many new customers will be created. Check this before confirming - a customer name that doesn't exactly match an existing QBO customer record will create a duplicate customer instead of attaching to the existing one.
- Click Complete import.
QuickBooks Online currently allows up to 100 invoices per CSV import, so if you're clearing out a backlog larger than that, split it into batches.
Where People Get Tripped Up
Customer name mismatches. If "Acme Corp" in your parsed data doesn't exactly match "Acme Corporation" already in QBO, you'll get a second, duplicate customer record. Check the Customer column against your existing QBO customer list before importing, especially for repeat vendors or clients.
Date format assumptions. QBO expects dates in a specific format tied to your account's locale settings. If dates come through wrong after import, check your QBO company settings' date format before assuming the extraction was wrong - it's frequently a formatting mismatch, not a bad extraction.
Tax handling. The export doesn't try to guess your QBO tax codes, since those are account-specific. If the source invoice includes tax, verify it's applied correctly in QBO after import rather than assuming the CSV import handled tax the same way the original invoice calculated it.
Item vs. product/service mapping. The Item(Product/Service) column is populated from the line item's SKU when the source invoice has one. A lot of vendor invoices don't list a SKU at all - in that case the column comes through blank, and QBO will prompt you to map that row to a product/service item in your own catalog during import rather than guessing on your behalf. That's expected behavior, not a parsing failure.
When This Makes Sense vs. When It Doesn't
This workflow is built for the volume that's too much for manual entry but not enough to justify a dedicated AP automation platform - a handful of invoices a week, a backlog you're catching up on, or an occasional bulk batch. If you're processing hundreds of vendor invoices a month with approval workflows, three-way matching, and multiple entities, that's a different problem with a different budget, and a dedicated AP tool or a managed automation service is the better fit at that point.
If you're building invoices yourself rather than receiving them, the Invoice Generator creates the PDF, and running that same PDF back through the Invoice Parser is how you get your own outgoing invoices properly recorded in QuickBooks as real AR records, not just emailed as a PDF and forgotten.
Try it yourself: Invoice Parser. Two free parses a day, no signup, five a day once you share an email.
Frequently Asked Questions
- Does the Invoice Parser import invoices into QuickBooks Online automatically?
- No. It exports a CSV formatted to match QuickBooks Online's own bulk-import column headers, but the actual import happens inside QBO's Import center - you still upload the file and confirm the mapping there yourself.
- Will the customer names match automatically?
- Only if they match exactly. A parsed name like 'Acme Corp' that doesn't exactly match an existing QBO customer named 'Acme Corporation' will create a duplicate customer record instead of attaching to the existing one.
- Does this handle tax codes?
- No. Tax codes are account-specific, so the export doesn't guess them - verify tax is applied correctly in QBO after import.